
Lumenok invented the first lighted arrow back in 2002 and within 2 years it became widely available to archers industry wide. Over the years, there have been a lot of other companies that have invented their own versions of the lighted nock that activate on different mechanisms. Here is an in depth look at how the Lumenok HD (High Definition) Orange by Burt Coyote looks, works, and performs.
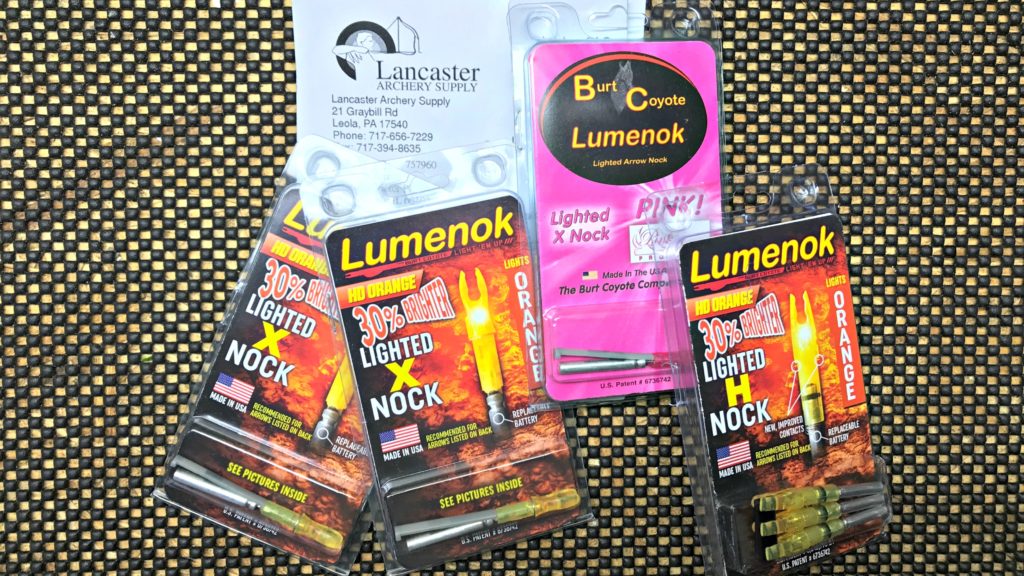
The Lumenok by Burt Coyote comes in 1 or 3 packs and is available in 4 different colors.
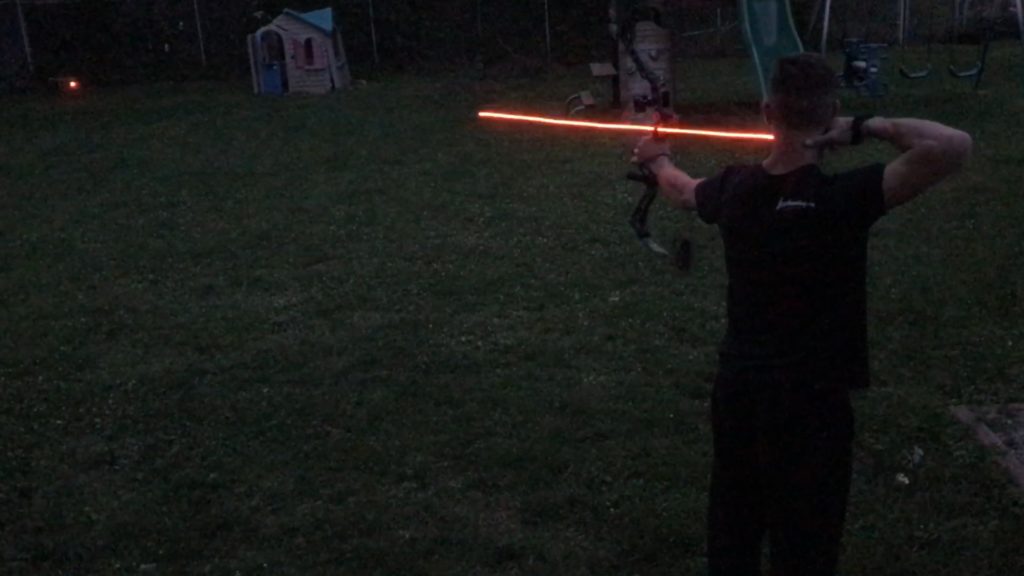
No one can deny how cool it is to watch a video in slow motion at dusk tracking the arrow with a lighted nock. But practically, do you really need them? When you consider all factors and find a lighted nock that you like and trust, I would argue that it is worth it if you approach it simply from a cost savings perspective. Stay with me here. A broadhead tipped arrow would roughly cost $30 or more. Adding another $10 nock might seem crazy, but given the fact that you probably won’t ever lose that arrow with one installed just makes sense. The top situations where this would practically come in handy are as follows.
- Verifying shot placement at the beginning of or end of shooting light.
- Finding an arrow after a clean miss or deflection – day or night.
- Recovering an arrow that didn’t pass through an animal but fell out as the animal ran away.
- Finding a deer with an arrow in it that stayed visibly lodged in the animal.
The Lumenok HD takes the original orange Lumenok to the next level with a 30% brighter L.E.D.
Lumenok’s new HD design and functionality is one of the brightest, yet simplest, designs on the market. It does not require magnetizing, a manual switch, or complex circuitry. How it works is by using the arrows’ conductive carbon or aluminum to complete the nock’s circuit and light the nock. It consists of a battery in a nock that creates an open circuit until the nock is forced forward by the string and then physically touches the arrow shaft .
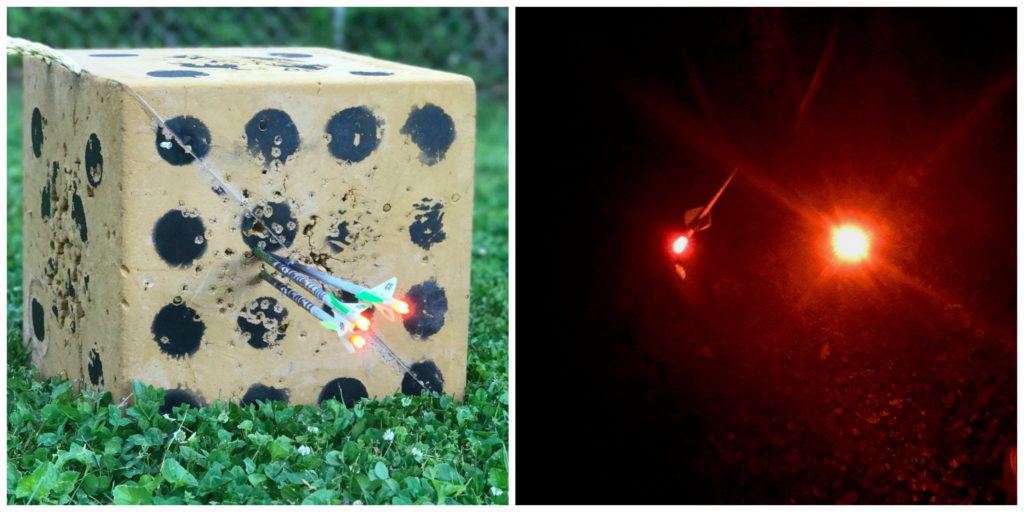
Lumenok says the HD Orange is bright enough you can see it during the day (left). On the right, you can see the increased brightness of the Lumenok HD at night (right) versus the original Lumenok on the left. It’s quite a difference.
UNBOXING
My Lumenoks came from Lancaster Archery Supply and are available in either a 3 pack or individual packs. They cost $10.95 for a 1-pack and $29.99 for a 3-pack. At the time of this article, Lumenok.com has a free shipping code for orders over $100. Instructions are included in the package, but the video tutorials at (https://www.lumenok.com/pages/tech-talk-1) were more helpful to learn about the product details. Each unit comes with a (BR-435) lithium battery weighing 12 grains that is rated for 40 hours of use. Interestingly, the Lumenok crossbow bolt battery (BR-425) only weighs 8 grains and can be used on some of the regular bow shafts nocks but won’t be as bright.
INSTALL / CONFIGURATION
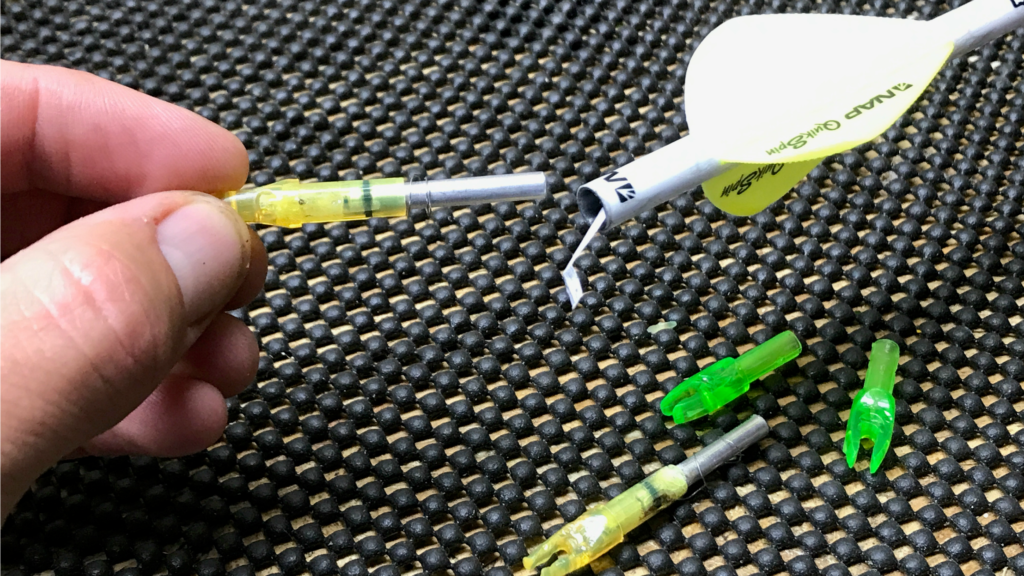
Making sure that you have the right nock for your arrow shaft is paramount to using it effectively. There is a nock selector guide on their website and on the back of each pack that states what arrows it will fit in. Nocks are sized by the diameter of the shaft they are designed to fit into. For this install, we are using Lumenok “H” arrows in Easton ‘da Torch 330 arrows (.232” Inside Diameter shafts).
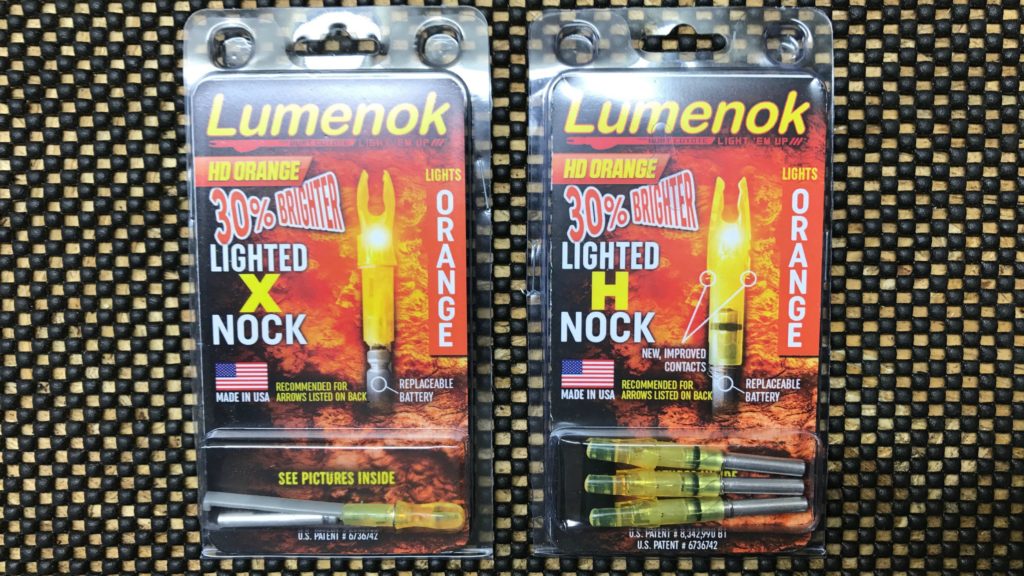
Here is the X nock which fits .204″ ID shafts and H nocks which fit .232″ ID shafts. These are only 2 of the 5 compound bow arrow nocks they make.
Where most people go wrong with this product is the install preparation. Most people probably pull it out of the pack and jam it in their arrow. When it doesn’t light up like they think it should or they think it is too hard to pull out and they use their teeth they get frustrated and write them off as a bad product. In actuality, if you follow a few steps to set them up properly, they will work for 100’s of shots and many days in the field without a hitch.
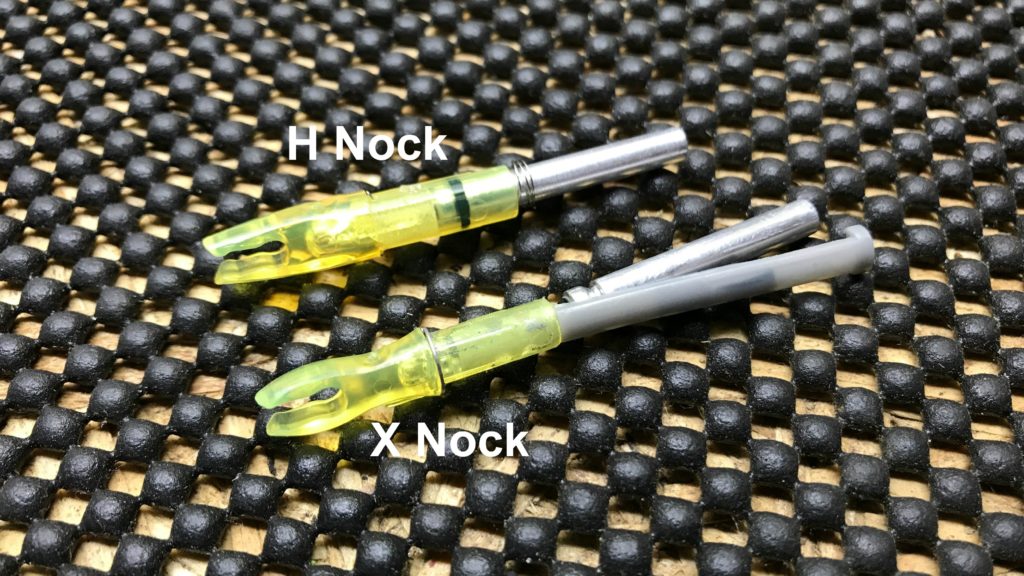
A close up picture of 2 different designs for use in different sized arrow shafts. The X nock has a metal ring around the base of the nock that contacts the end of the arrow shaft, which the H nock does not.
Step 1 – Arrow Prep
Some arrows, including the Easton ‘da torch arrow, come with bushings that the OEM nocks fit into. As nice as these are, Lumenoks won’t work with interior bushings like the uni-nock installed on my arrows. If you are using an exterior type bushing that doesn’t effect the inside diameter of the arrow it should work as long as is conductive and clean. For arrows that use a nock collar such as Carbon Express, you can either remove them entirely or glue them down to your arrow shaft to make sure the Lumenok works properly. When using nock collars you’ll also want to sand off the anodized finish to expose the bare metal for better electrical conductivity.

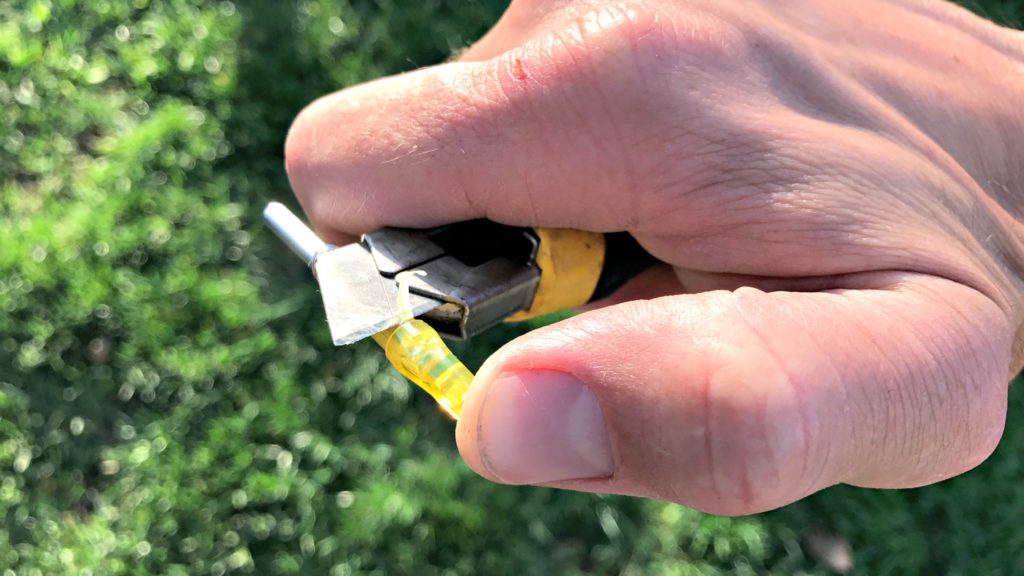
The easiest way to remove a bushing that is glued in is by utilizing an oversized screw as shown.
Cleaning and squaring the back end of your arrow is possibly the most critical step to making sure your nocks work properly. Lumenok has created their Fletched Arrow Squaring Tool or (F.A.S.T) which is designed to ensure the end of the arrow shaft is perfectly square. This is important for two reasons. The first is so that both of the contacts required to light the nock touch the arrow evenly, and the second is to make sure all of the energy transferred from the string and to the nock gets transferred to the arrow evenly. Even arrow saws don’t cut them perfectly straight. G5 also makes a handy arrow squaring tool, however it doesn’t work on shafts that are already fletched. This is where the F.A.S.T. really shines.
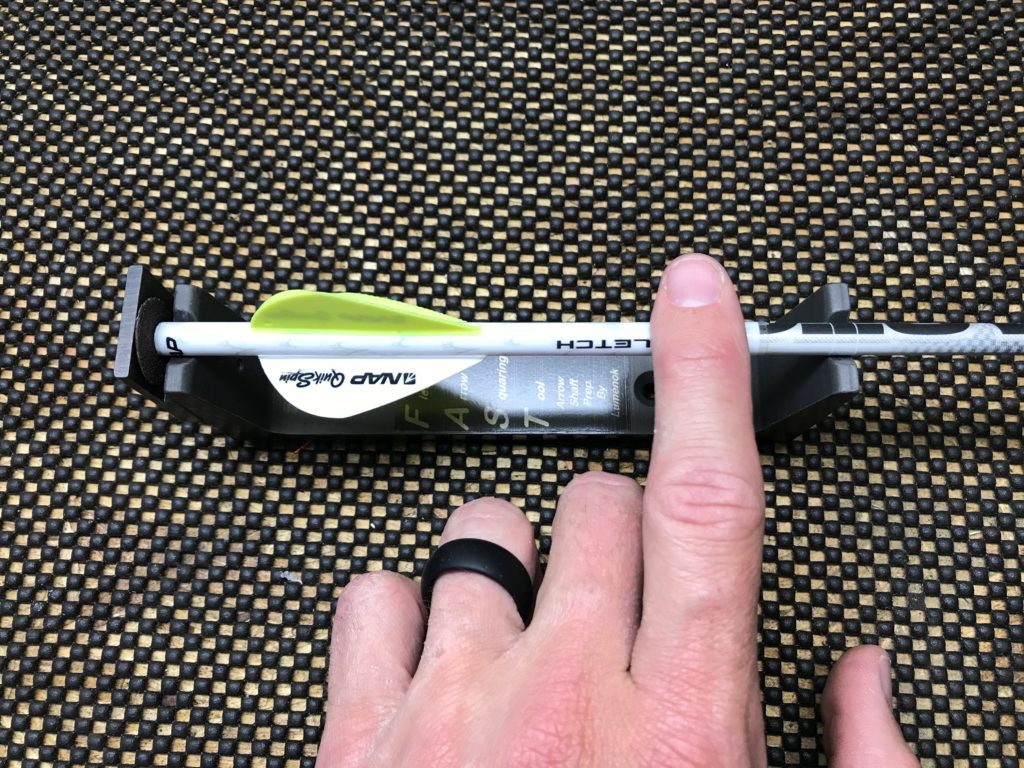
This is the Lumenok Fletched Arrow Squaring Tool (F.A.S.T). It holds the arrow and uses fine grit sandpaper to square the arrow end to ensure a solid connection and improved accuracy. A perfectly square, clean arrow end is paramount to ensuring your Lumenoks work properly every time.
If you don’t have the F.A.S.T tool, you should use some fine grit sand paper or emery cloth and lightly sand the outside shaft to ensure a clean surface. One trick is to take a piece of sandpaper, make a small cut in it, and form a small cone with the sandpaper that can clean out the inside edges of the arrow shaft.
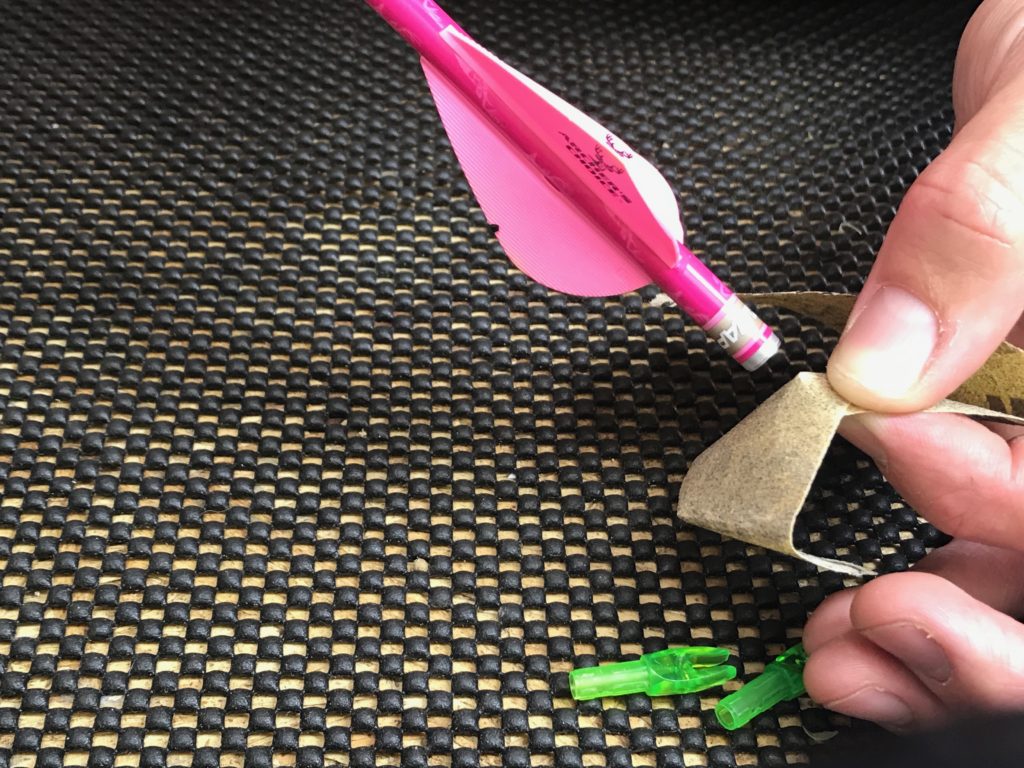
Making a small cut in the sandpaper and forming a cone helps to clean in the inside ring of the arrow end. This is very useful for Carbon wrapped shafts that contain fiberglass.
Step 2 Ensuring the nock fits
There are 5 raised tabs on the nock shaft that a lot of people miss because they blend into the nock shaft. If you look closely you can see them. If the arrow nock fits too tightly, these raised “sets” can be shaved off. Usually 1 or 2 is sufficient. There are minor variations in I.D. between arrow shaft manufacturers which is why Lumenok builds their nocks this way. This system allows you to custom fit the nock to your arrow, ensuring the perfect fit every time.
This may be the most important step people miss when using this product.
If you shaved them and now they are too loose, you can always use a thin paper shim as shown below. Just make sure the shim doesn’t block the 2 metal contacts.
Adding a small shim by using a small strip of paper makes a tight connection if you shaved off 1 too many “sets.”
How tight is too tight? The nock should not light when pushed hard against a hand. It should be too painful to light, and that is the best test! If it is too loose, you will know immediately. A loose nock could pose a problem during a complete pass through of an animal where there are forces pulling against the arrow & nock that could dislodge the nock. So you want it not too loose and not too tight. If you have to use your teeth to wiggle the nock back out and open the circuit, it is too tight. Trim the tabs. You should be able to wiggle the nock with just your fingers enough to break the connection and turn it off.

You should not be able to turn the nock on by pushing on your hand. Additionally, if you push the nock against the workbench to insert it, it is too tight as well. It may end up like this.
Changing the Battery
Changing a battery is extremely simple. All you have to do is pull the battery out, pull the o-ring off, put the o-ring on the new battery, and slowly slide it back in it’s seat in the nock shank. A small amount of lubricant is helpful to reseat the battery in the shank.
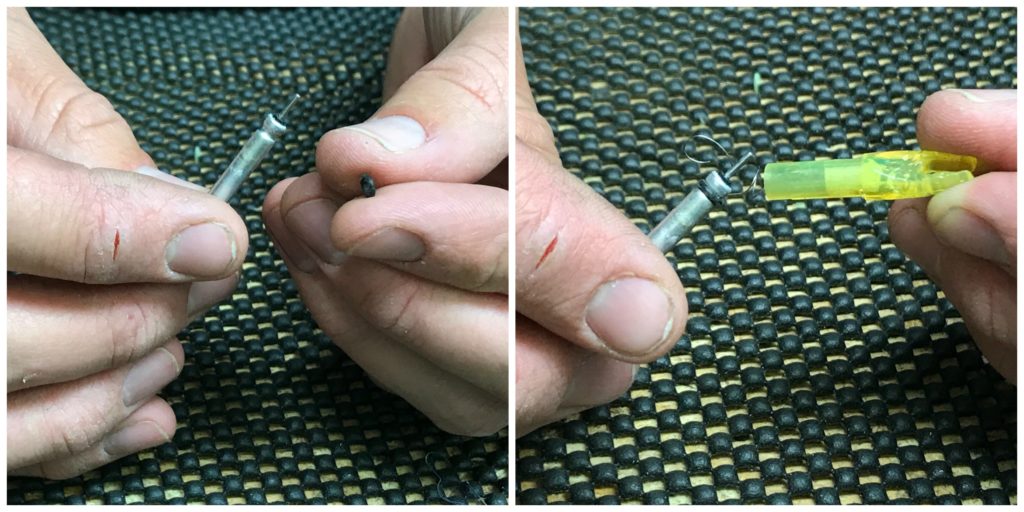
Changing the lithium battery on the H nock is very easy. Simply pull the battery out, remove the o-ring, replace o-ring on the new battery and re-insert. Replacement batteries are $5.00 for 2.
General Use Overview
The concept is simple. When the arrow is shot, the pressure of the string forces the nock ever so slightly to press against the conductive shaft and, boom, the nock lights. With a simple wiggle and push of the nock away from the arrow the nock light goes off and it’s ready to shoot again. The mechanics are easy and its straight logic. I shot the Lumenoks for weeks and had no issues, once I installed them properly according to the manufacture’s guidelines.
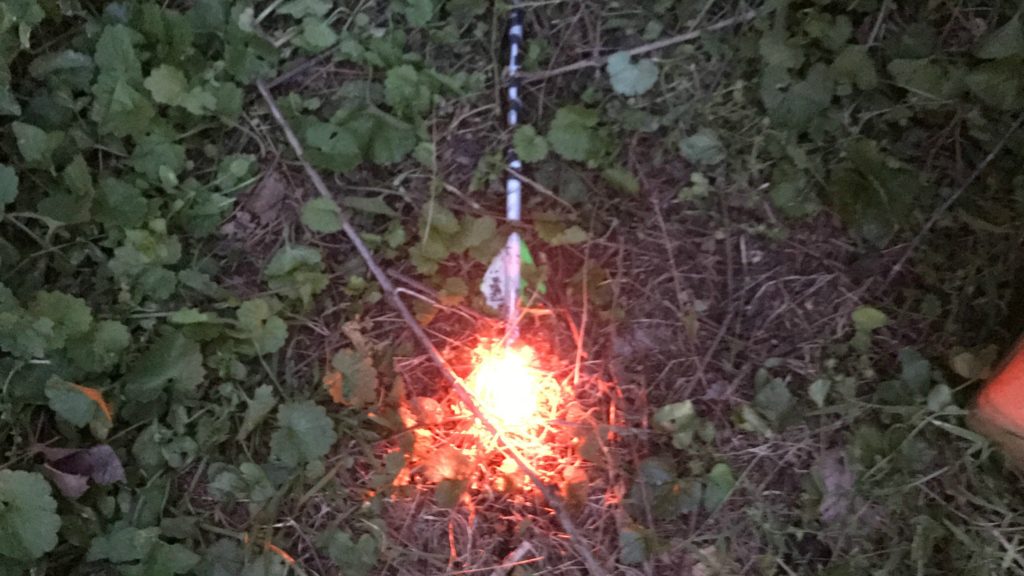
An arrow buried in the grass is much easier to find with a Lumenok.
I tested a brand new battery to see how long it would actually last and surprisingly it lasted for over 72 hours. It was not as bright as it was brand new, obviously, but for a rating of 40 hours, that’s pretty impressive.
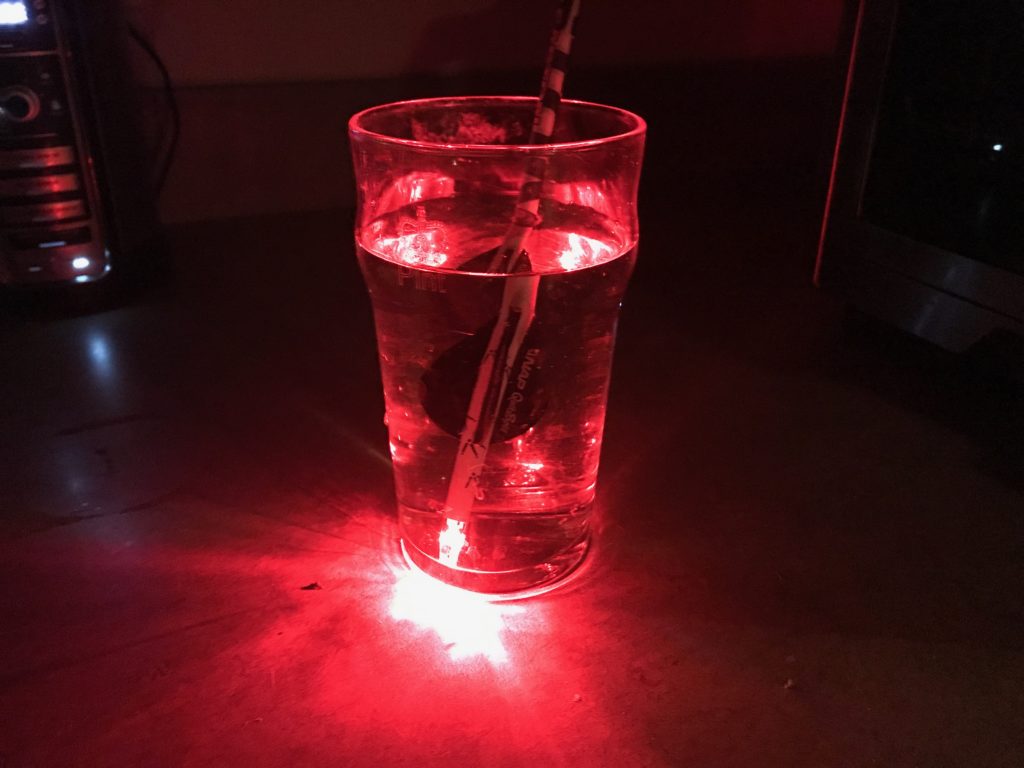
Lumenok left in a glass of water over night. It was still shining bright.
I also stuck a Lumenok HD and a regular Lumenok in the grass and walked back in the dark. It is almost laughable at how bright these things are.
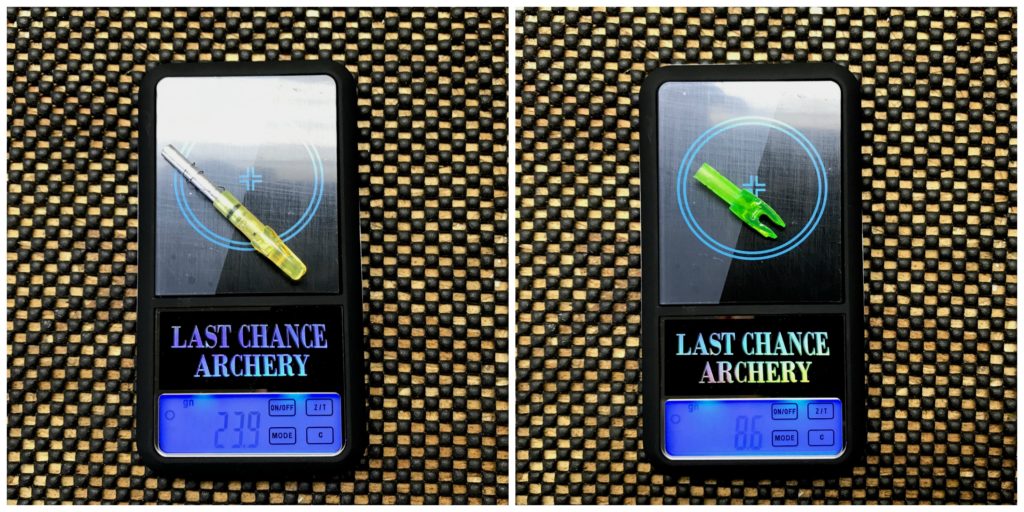
Lumenok arrow nocks weigh about 24 grains. Compared to the original bushing and nock, that is an increase of 16 grains. Will that make a difference at 20-25 yds? It probably won’t, but back out to 50+ yards plus and it might.
The Lumenok HD performed flawlessly during the tests. I had no misfires. The only problems experienced early on were strictly due to operator error. In the testing phase, the issues were due to trying to use the wrong sized Lumenok. I tried to use the smaller diameter “X” nock designed for .204” inside diameter arrow shafts with the uni-bushing’s installed on the Easton Torch arrows. It doesn’t work because the different design does not allow the battery shaft to make contact with the arrow to complete the circuit due to the larger size of the shaft. The H nock’s thin gauge wire that wraps around the battery is designed to touch the inside of the carbon shaft.

Some people have issues with moving the nock when they wiggle it out. Here is a quick fix. Simply mark the location of your nock on your arrow and you’ll always know where it should end up.
In conclusion, when installing these nocks, follow the manufacturers guidance to set them up properly. The new Lumenok HD will certainly keep your arrows shining bright, helping you ensure your shot is on point. Or it will help you determine that you flat out missed, but on the “bright” side, at least you will get your arrow back!
Learn more by checking them out at www.lumenok.com