One of the best things about punching your turkey tag is that the chores that follow are quick and simple. There’s no arduous work involved like, boning lots of meat, packing heavy loads, and grueling hikes out of the backcountry. That also goes for the task of preserving your trophy, like the fan. It’s really simple. You can complete the whole job of displaying your turkey on your own, quick and easy, without shelling out the bills to your taxidermist. The following info will show you exactly how to prep a turkey fan for display.

A do-it-yourself turkey fan is a surprisingly quick and simple task for the turkey hunter.
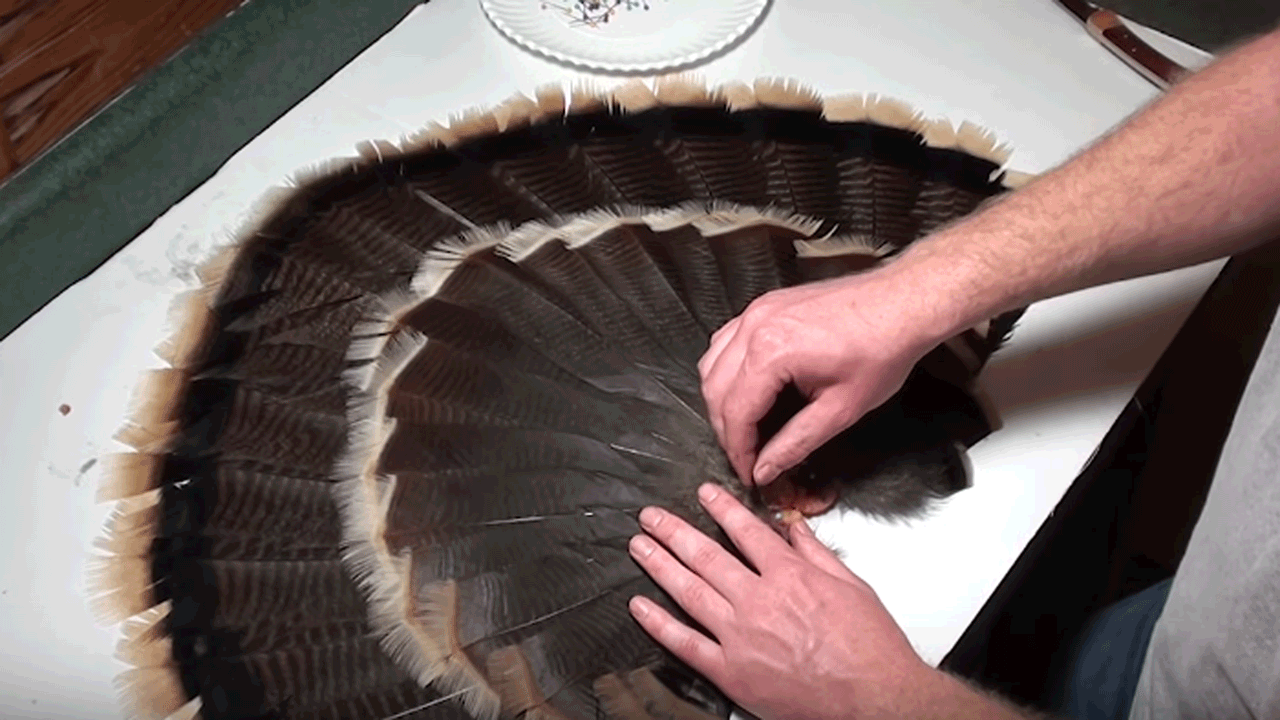
The hardest part of the process, which really isn’t hard at all, is removing the tail fan from the bird. The main thing to keep in mind is to cut ahead of the meat holding the feathers, not the feathers themselves.
Here’s what that looks like…
Once you have the fan removed from the bird, you simply need to apply Borax to the flesh and meat and tack the fan down to a wooden board or piece of cardboard for drying. Again, it’s very simple. Just make sure the feathers are spread out and displayed how you want them in the end. There’s no adjusting them once they dry. I typically let my fans dry for a month, although they are probably good to go in a matter of weeks.
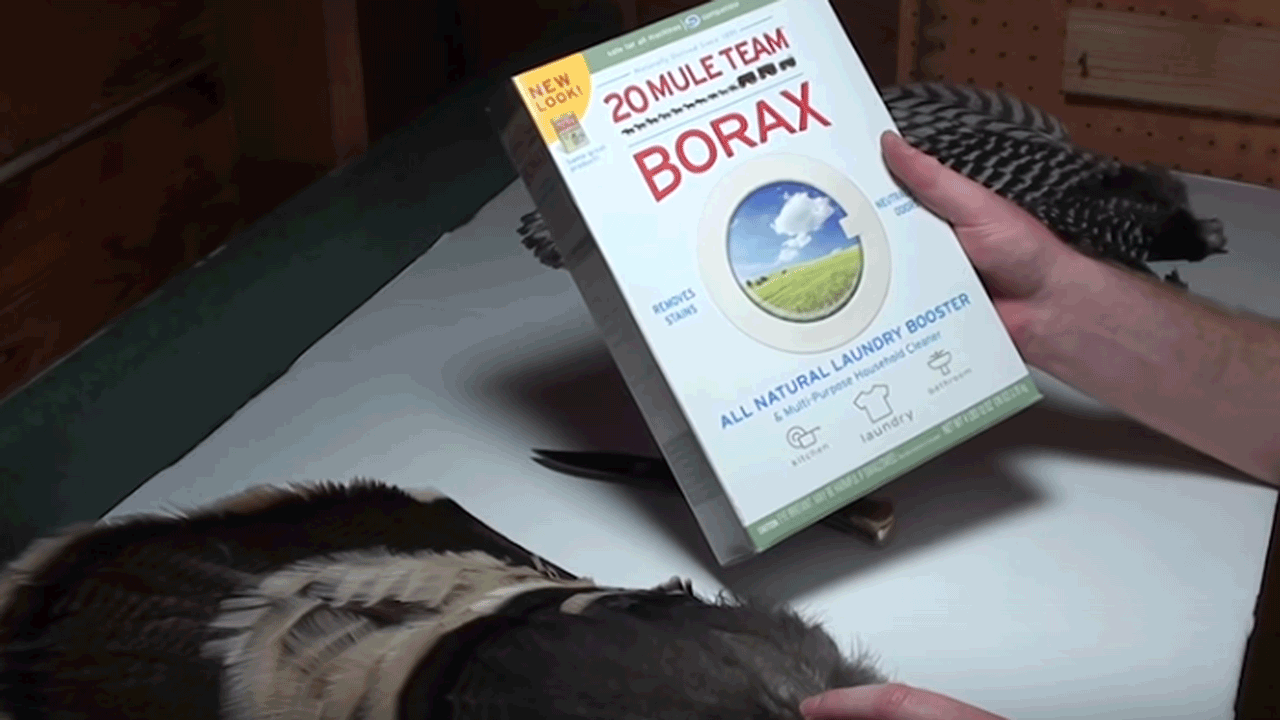
The Borax is a product that you can buy from your local store. You’ll find it with the laundry detergent products. It dries out and preserves the fleshy areas and remaining meat on the tail fan.
Here’s a look at how to tack the fan down for drying…
A do-it-yourself turkey fan is simple way to put your memories on the wall, and save some coin along the way. Other than the Borax, you’ll probably already have everything you need laying around the house or in the garage. Give it a try when you kill your turkey this spring.